Table of Contents
REF: Tools - 136
Fork Tools
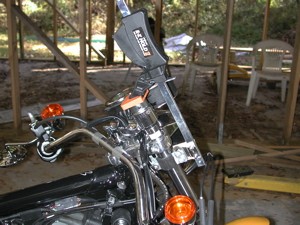
Fork Spring Compressing Clamp
Trock makes a fork spring compressor that sells for app. $125. There are also several other manufacturers making them.
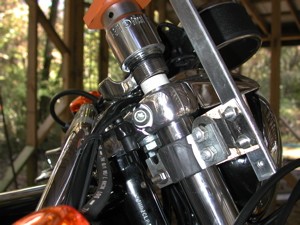
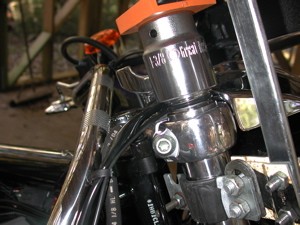
The one below is reverse engineered from the Trock model and can be made for under $20.
- The socket and driver will help to stop the “fly-off” that occurs during removal when you finally run out of thread and the springs decompress driving the cap airborne.
During installation, mark the fork cap, socket and the triple tree where the threads would start to take. Then, compress the socket and fork cap. 1)
| Homemade fork spring compressor 2) |
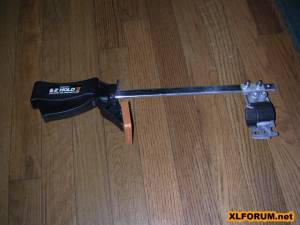 A ratcheting bar clamp with the end arm removed and an electrical conduit clamp wrapped in electrical tape bolted to it |
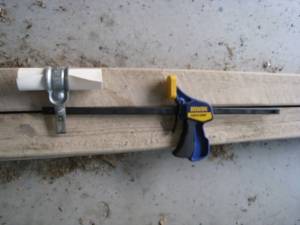
Another homemade version of this tool:
| Homemade fork spring compressor 5) |
 |
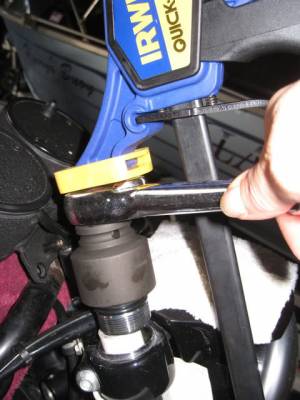 | 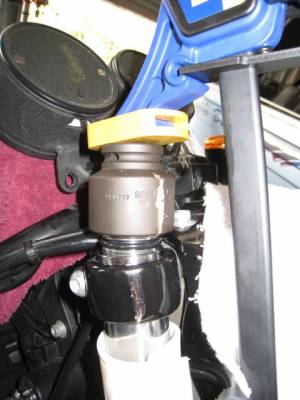 | 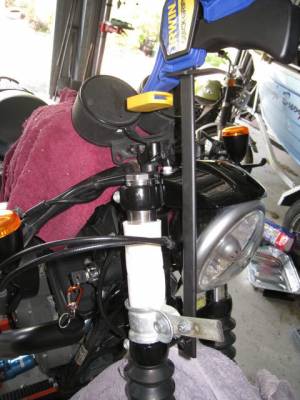 |
| It may take a few goes to get it to depress squarely into the tube. Then just turn the socket until the threads on the cap start properly.6) | ||
|---|---|---|
Here's another also using a ratcheting bar clamp.
The upper pad was drilled so the 1/2“ extension would fit through it. The black tube on the extension is a sprinkler adapter which just happened to be the right size to fit on the extension. It just keeps the extension from falling out. The socket is from J&P cycles. Drill a hole in the lower part of the metal bar and put a motorcycle strap through it. Hook the other end of the motorcycle strap to the bottom of the fork and tighten it down so the clamp will pull down on it. 7)
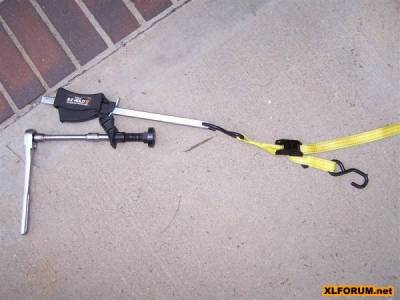 |
| Homemade fork spring compressor 8) |
|---|
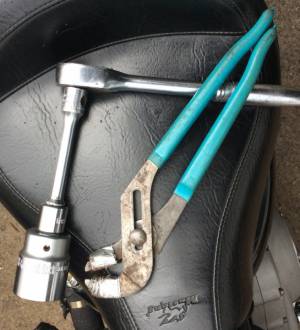
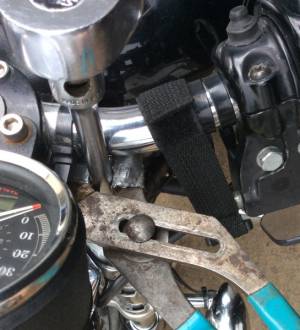
Another homemade Fork Cap install tool/method:
| Trapping the socket extension with the channel lock pliers under the handlebar helps to keep it aligned and allows you to press down with the pliers on the socket (and cap) while turning the wrench to thread the cap into the fork slider. Putting tape around the jaws helps to prevent scratching the handlebars.9) |
  |
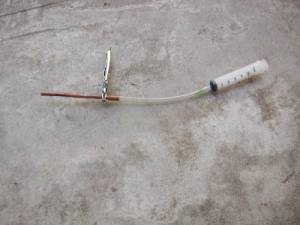
Fork Oil Level Tool
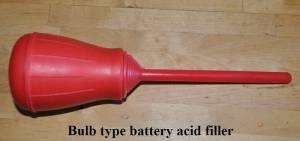
You can use a turkey baster. Attach a piece of flexible hose, then an aluminum arrow shaft. 10)
With plugs in the center of the tube caps, you can pull the plugs and insert the aluminum arrow shaft down into the tube.
Then hold it against the front of the plug hole and let the tip touch the spring at the back of the tube.
Once you get it the way you like it, make a permanent mark on the tube and you are good to go from then on.
If you start with clean tubes and fill the recommended amount, you can find that level by listening for bubbles as you play with the bulb on the baster.
That gives you a starting point.
You can use any kind of syringe, vac pump, etc in place of the turkey baster.
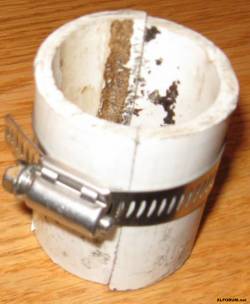
Fork Seal Tool
| Collar made from PVC pipe. 13) |
 |
Fork Oil Drainage
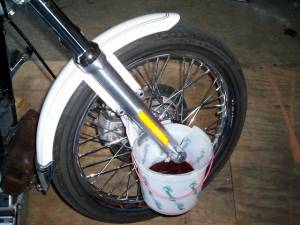
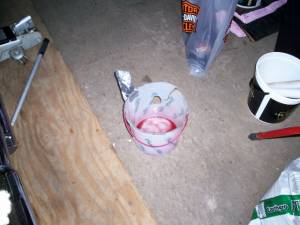
This is a good way to keep from squirting fork oil all over the wheel and floor 14)
An old ice cream pail (5qts) and with a hole cut in the side of it and slit from the hole to the top it.
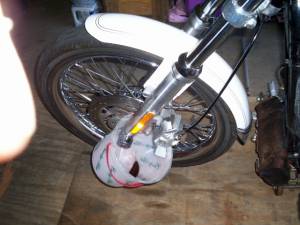
This way it'll you can wrap it around the axle and under the fork (and duct taped it to the wheel).
The disc brake side takes a bigger notch to get it around the caliper mount. Then put some duct tape over the brake pad area so it would stay oil free.
| Drain bucket for changing fork oil. 15) | ||
 |  |  |

