Table of Contents
REF: Tools - 127
Carburetor Removal / Dis-assembly / Installation Tools
Removal / Installation
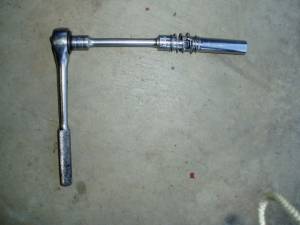
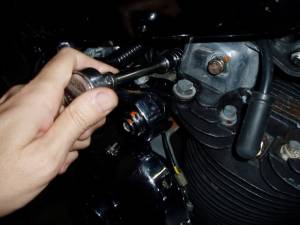
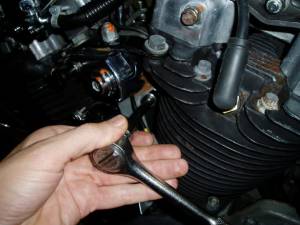
| A simple rig to unbolt a Keihin non-CV carb on an IH engine without removing anything else. A 3/8“ ratchet handle with a 4” extension, spring universal joint (it's spring loaded to allow precise work in tight areas 1) and a 1/2“ deep well socket. It will slide straight in to the top carb stud nut and the bottom one as well (if you hold the horn to one side, it flexes on its rubber mounts. 2) |
||
 |  |  |
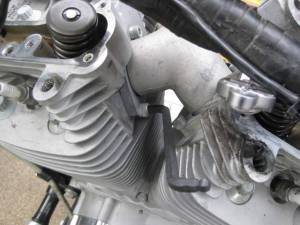
This Bendix carb below didn’t have studs, but rather mounted with bolts from the back.
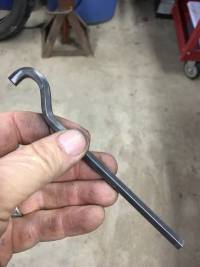
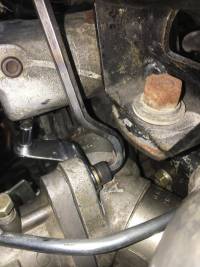
The bolts were replaced with socket head cap screws for easier access and a custom Allen wrench was bent for the top one. 3)
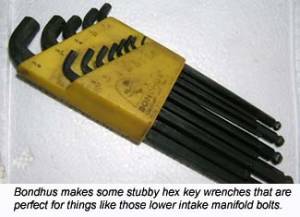
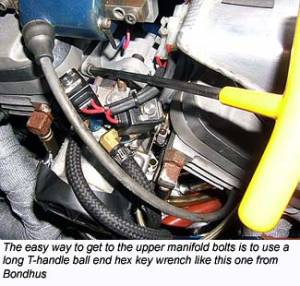
| “Intake Manifold Wrench” - 'Z' shaped Allen wrench 4) Made for this purpose, available online ($10-$20) | This is a Bondhus Driver 5) (basically a ball end Allen wrench with a handle) |
 | 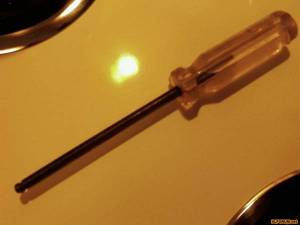 |
| Bondhus Allen and T-handle wrenches for getting to the manifold bolts. 6) | |
 |  |
Parts Storage
Carburetors have tiny parts that can get lost quickly.
An old cup, container etc. can be used to keep up with parts take-offs until you're ready to reassemble them.
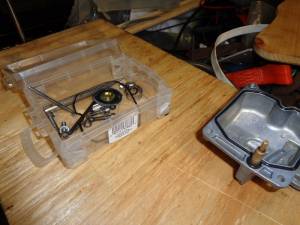 7)
7)
Dis-assembly
General Cleaning and Stuck Gaskets
Carb Stand:
Removing the carb from the bike should be straight forward. First thing when it is out is to check the pilot screw setting. 8)
Turn it all the way in until gently seated counting the number of 1/4 turns; then write this number down; then reset it.
You can put it in a vice to remove the screws, and for much of the following work.
Wrap in a shop towel; close the vice gently taking extra care with the choke and throttle linkages. The vice is a needed extra pair of hands.
However, this setup works better than putting the carb (pre-CV) directly into the vice.
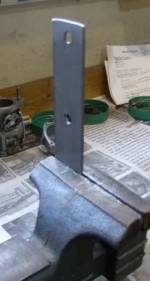 9)
9) 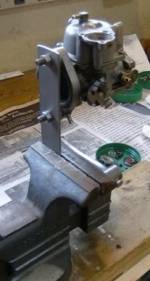 10)
10)
You can use some soft jaws in a vise to protect the sides of the carb.
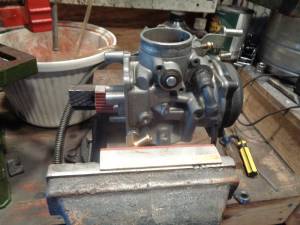 11)
11) 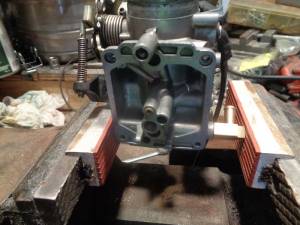 12)
12)
Soaking parts:
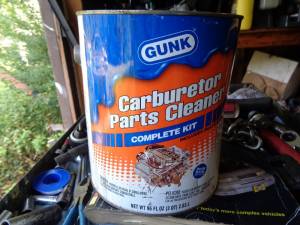
A gallon of carburetor cleaner is very useful in cleaning parts. It has a basket with a handle on the inside for use with small parts.
It is especially useful for soaking stuck gaskets and dried varnish.
A toothbrush dipped in carb cleaner can also be used to scrub gasket and outside surfaces to remove the grunge.
Depending on how old or how 'stuck' the parts are, soaking for a couple hours or even days may help to separate the old gasket in between.
Make sure to remove any rubber or plastic parts that will be reused before soaking.
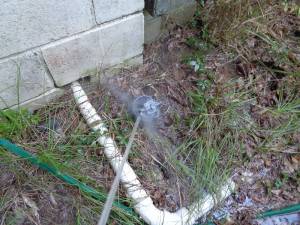
Spray all soaked surfaces down with water afterwards to de-energize the cleaning solution.
Also check the label for safety precautions.
| Carburetor Cleaner 13) | |
 |  |
You can dismantle the carb down to the body and soak it in mineral spirits or paint thinner (Acetone).
You will be surprised at all the dirt in the bottom of the soaking container. Just let it sit.
Be sure to remove all rubber parts though.
Other proven ideas include soaking the carb in Pinesol or boiling it in lemon juice.
Paint thinner bath:
Acrylic paint thinner melts any fuel varnish and dissolves all sorts of gunk. Just not real nice to rubber parts. ..so careful with o rings and the like.
This one took and overnight bath.
Lemon Juice Bath:
Pure lemon juice works great as carb cleaner. You can get bottles of it at your supermarket.
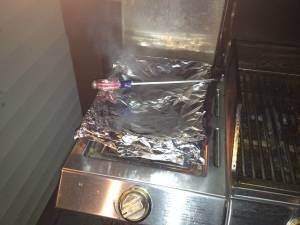
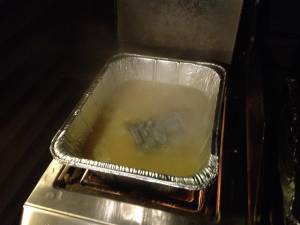
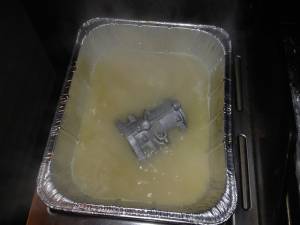
Pour enough in a foil loaf pan (or an old pot 16) ) to cover carb then bring to boil. 17)
Once it's boiling, put carb in for 5 minutes (1/2 hour or less), remove and spray it with WD-40 to prevent rust on steel parts.
You can actually let the carb boil at a low heat for about 1/2-1 hour and then an old toothbrush will help with the tough varnish (if any left). 18)
Bring the juice to a boil, back off the heat and simmer the carb body for an hour. It will smell like all hell, be forewarned.
This won't hurt rubber parts so you can remove the float bowl and put the bowl and carb in boiling lemon juice and it will look good as new when finished.
Be sure to do this in a disposable pan on a grill outside because it will stink very bad by the time your finished and you don't want that in the house.
The acid of the juice plus the heat removes all the gremlins. Then you can pour the nasty remains down the drain and wash down the carb parts with water.
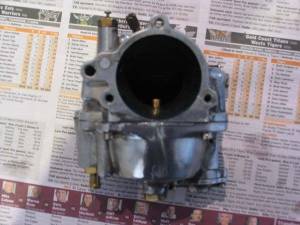
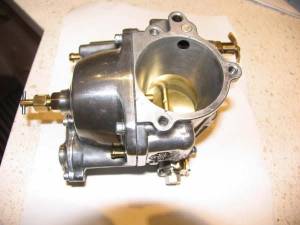
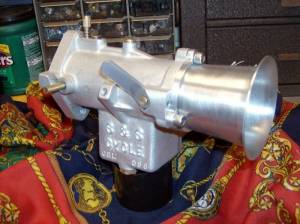
| S&S GBL Carb cleaned with lemon juice. 19) |
 |
Tillotsons in a lemon bath.
 20)
20)  21)
21)  | 22)
| 22)
Pinesol Bath:
Pinesol doesn't require any heating.
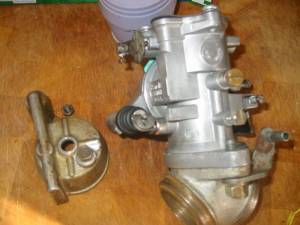
The bowl for this carb was replaced since the old one was cracked and subsequently replaced.
The old bowl is to the left in the pic below and represents the condition of the carb before soaking.
The carb was dunked in a container of Pinesol a little while (not overnight) and then touched up with a tootbrush and a final dunk.
Then wash thoroughly with warm / hot soapy water and blow all the passages out really well.
Reassemble carb and install.
All passages were blown out with compressed air.
| Bendix cleaned with Pinesol. 26) |
 |
General Screw Removal
Phillips Head Screws:
Always use the correct wrench for the screw heads you're working with.
Using a too small Phillips screwdriver will strip the head of a Phillips screw.
Not using enough force against a Phillips screw when removing or installing can strip the head of the screw.
Using a short Phillips screwdriver with the correct size end leaves you less torque than using a long one.
Then you have to push harder on the screw while turning and slippage of the tool begins.
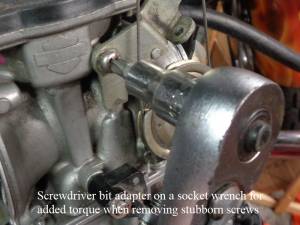
You can also use a screwdriver bit adapter on a socket wrench to give you more turning power especially when removing stubborn screw.
It's not a good idea to tighten Phillips head screws with a socket wrench.
A good thick long screwdriver is generally all that's needed.
Caution: tightening Phillips head screws with a socket wrench can strip the heads of the screw.
Loosening a screw: Always keep good pressure against the screw while turning it until it loosens up.
Tightening a screw: Snug plus a nudge is all it takes to tighten these carb screws with a socket wrench.
(especially with no torque specs in the service manuals)
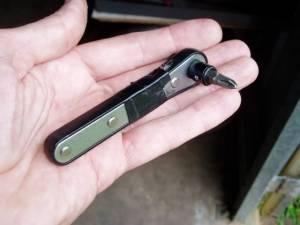
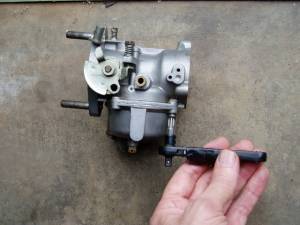
| Screwdriver bit attachment on socket wrench 27) |
 |
Jets
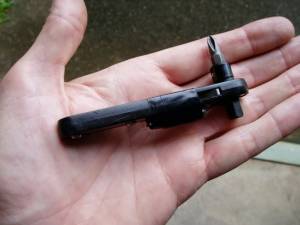
Change jets without taking the carb out of the bike. A Philips bit works for a Keihin butterfly (non CV) carb. It gets around the problem of not being able to get a screwdriver and your hand around it in between the float bowl screws and the top of the cam gear case.
- With the air filter off, you can take the float bowl off using a ratchet bit driver (available at most auto parts stores) and a phillips screwdriver bit. 28)
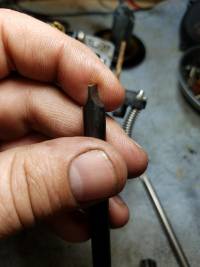
- Works good for getting those jets out too, with a straight blade screwdriver tip. Make sure it is wide enough straight bit to straddle across the hole in the middle of the main jet.
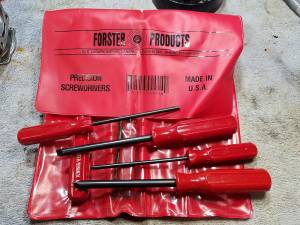
- You can also use stubby screw driver, the type with a removable handle. You can take the handle off and use a small wrench on the hexagon where the handle is supposed to fit on the shaft to turn it in a tight spot.
- Also, a short stubby regular phillips screwdriver to do the final tighten up of the float bowl screws because it is REAL easy to overtighten those tiny screws with the leverage of this ratchet rig. They only just need to be nipped up, not wreathed down on.
Sleeve for Tuning Air / Fuel Mixture
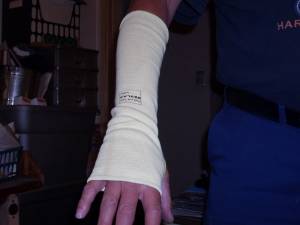
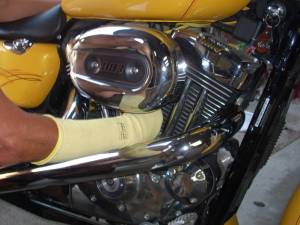
This is a Kevlar sleeve from NAPA and cost about 8 bucks.
| It helps to keep from burning your skin on the exhaust while the A/F mix per The Idle Drop Method. 29) | |
 |  |

