Table of Contents

REF: Body Parts
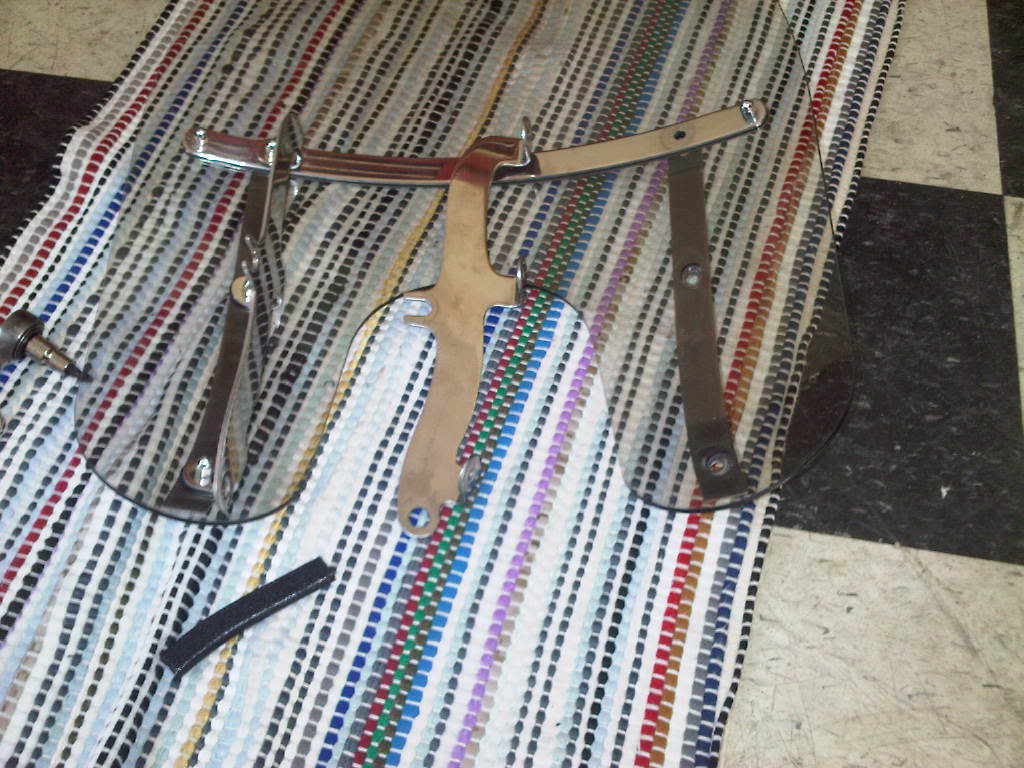
Lowering the Detachable Windshield
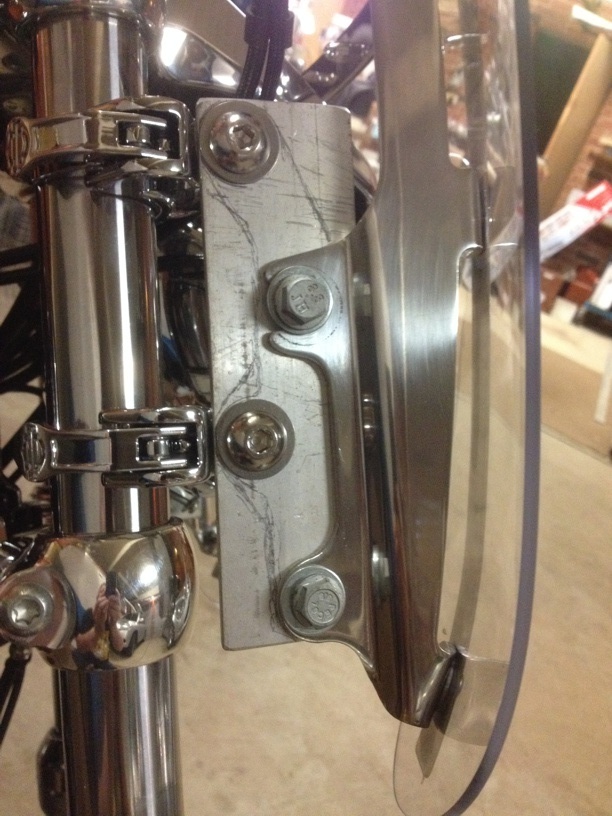
Fabricating a Bracket
This was made from a standard aluminium strip from the local aluminum supplier (50 mm wide, thickness 4.3 mm / 11/64 in) cut to shape with a brushed finish.
Finshed product: 1)
 |
Fitting stages: 2)
 | 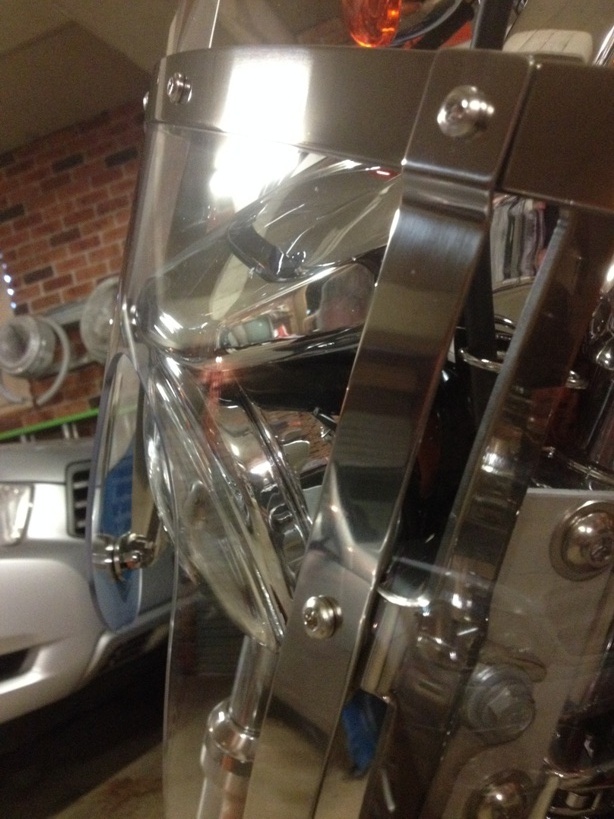 |  |
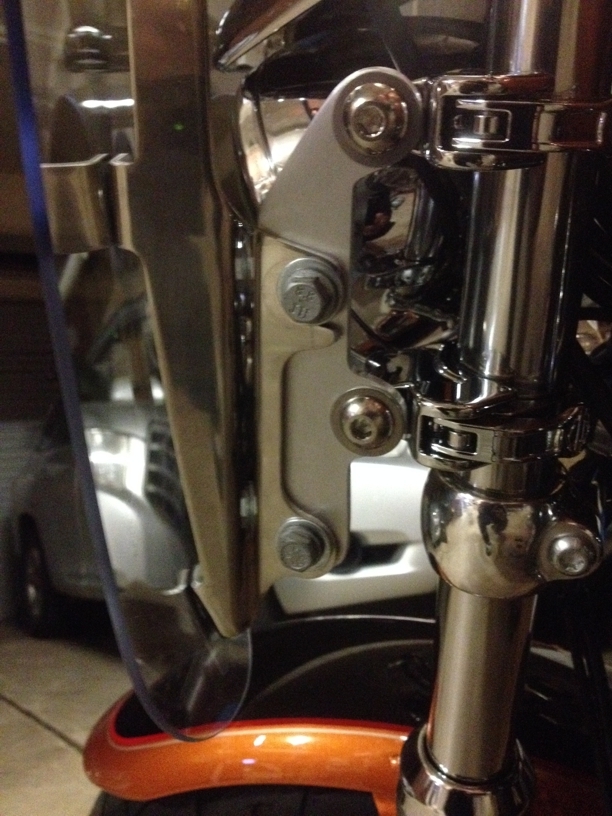
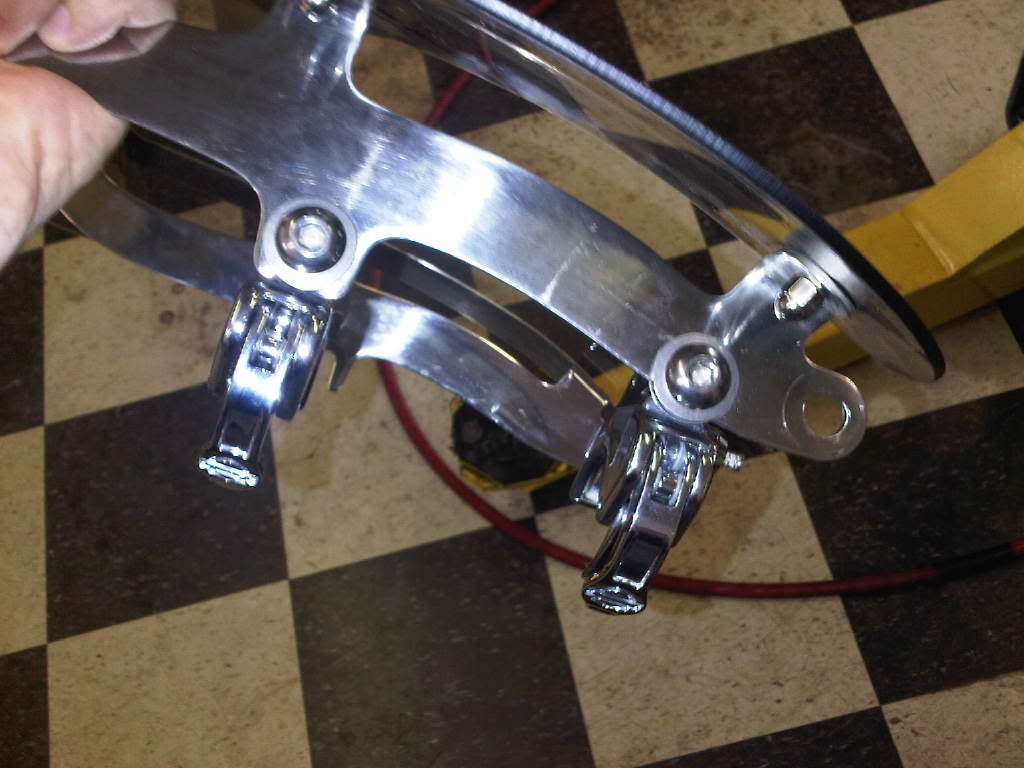
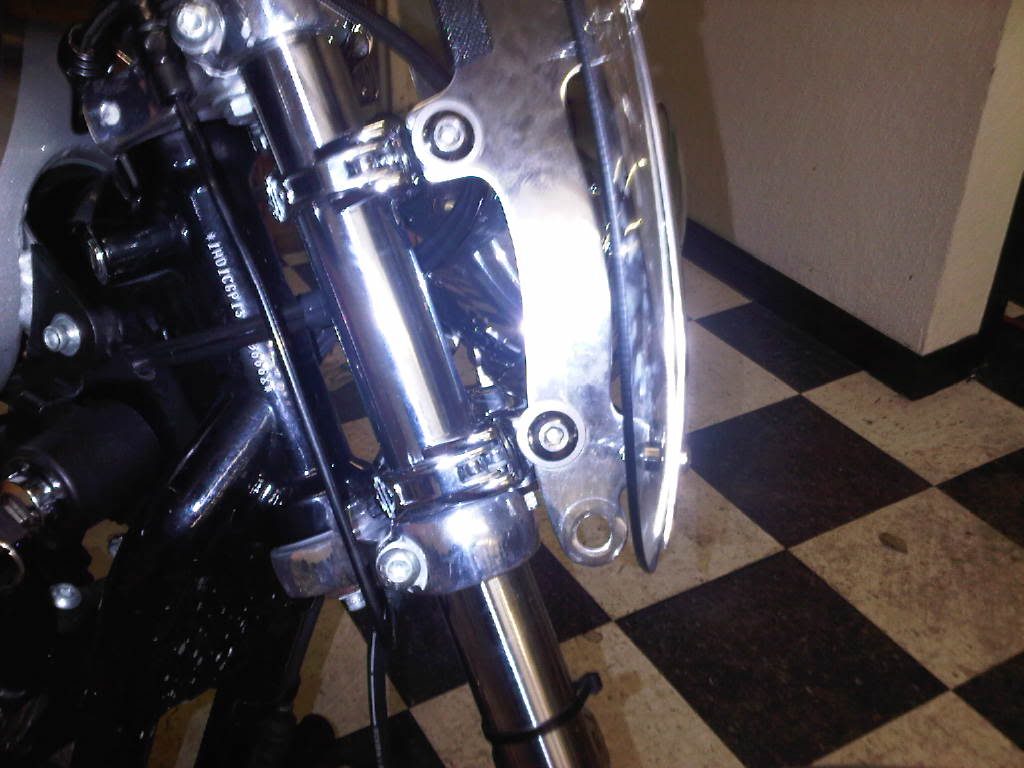
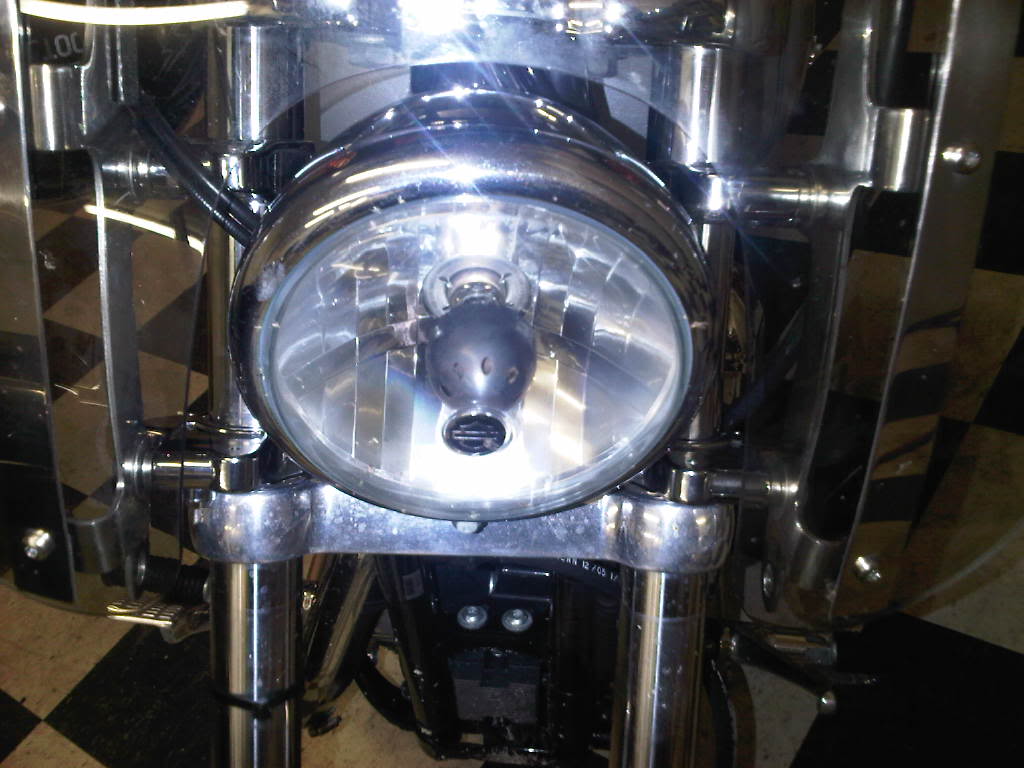
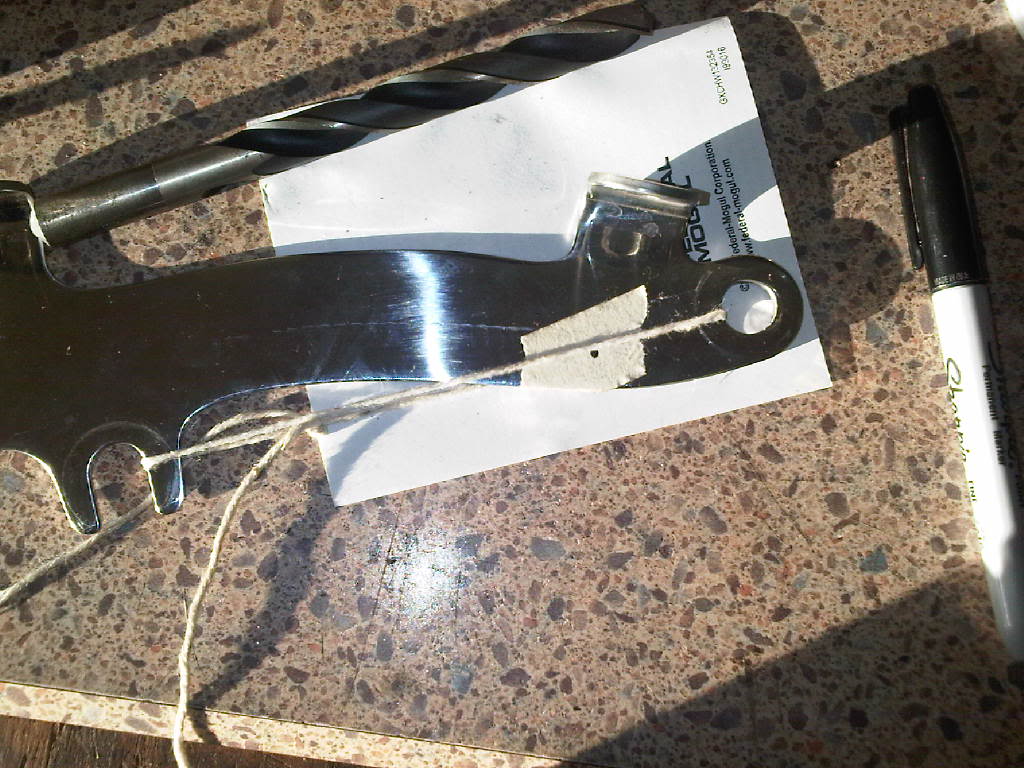
Re-locating the Bottom Clamp
Finished product: 3)
 |  |  |
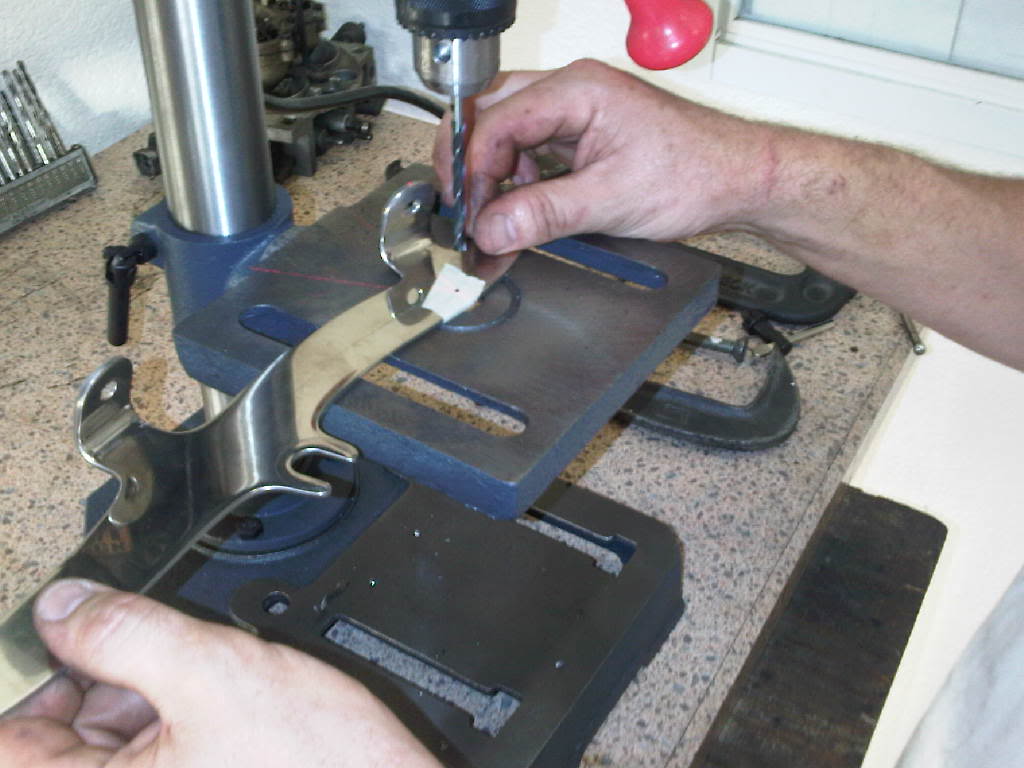
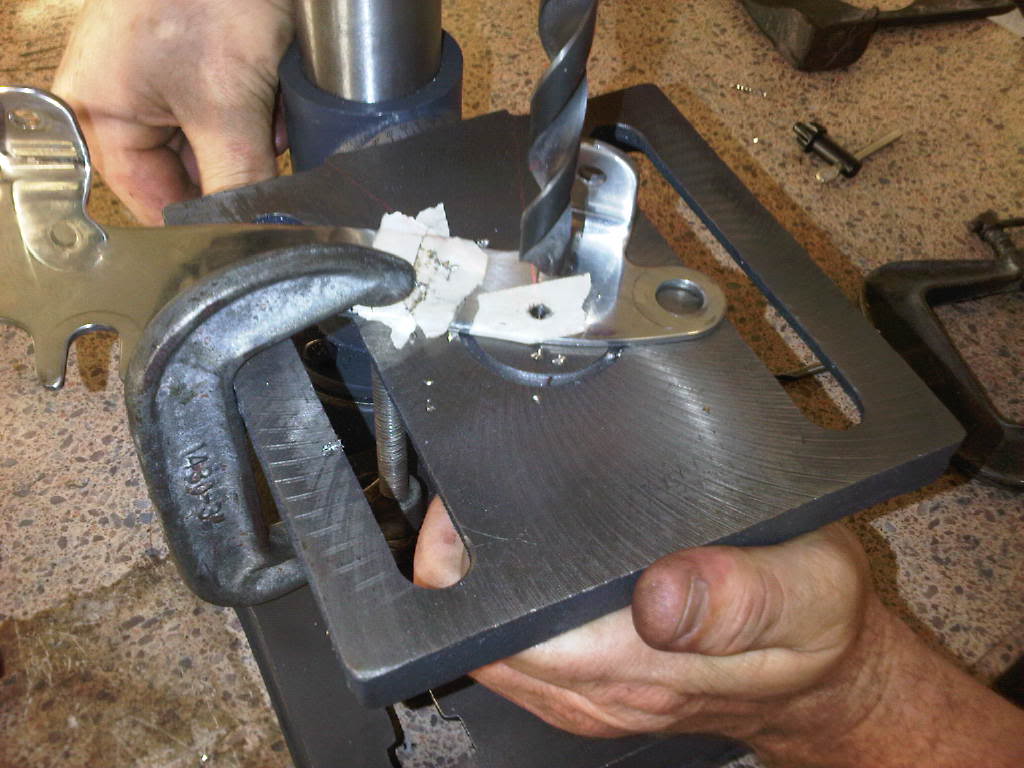
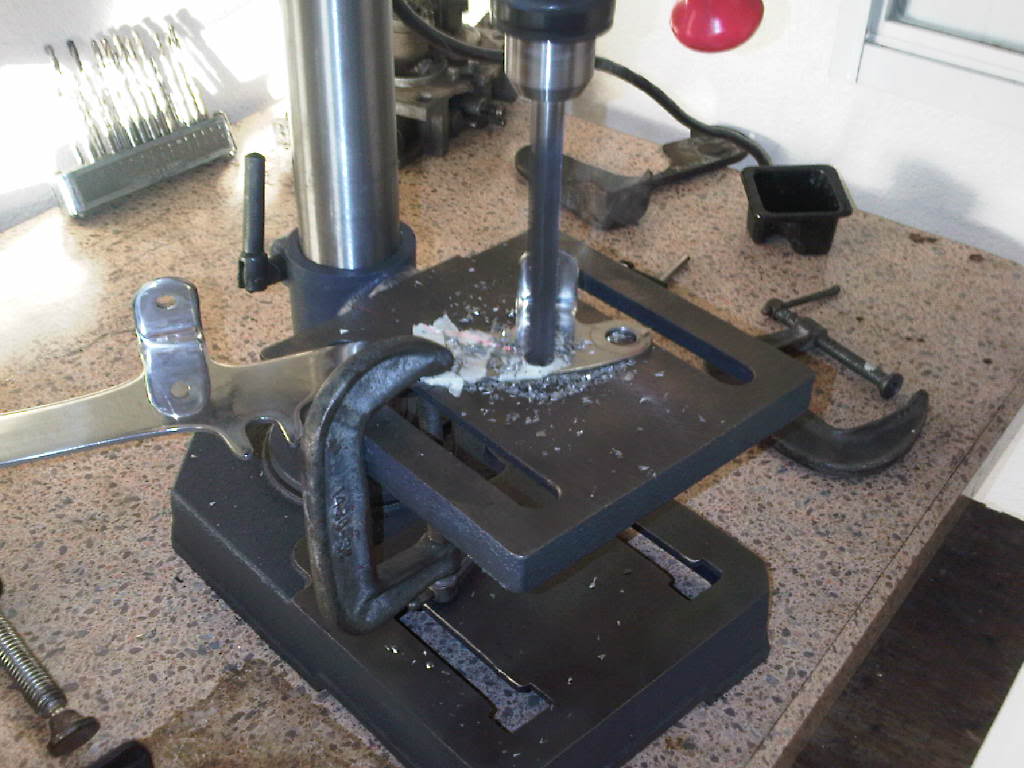
Process stages: 4)
- Remove the brackets and tie a string between the clamp holes to get the center line and keep the clamped angle the same.
- Tape the area to be drilled to help keep from chipping the outside edges while drilling.
- This one was drilled 1-1/4“ up in a drill press.
- Be sure to leave enough meat between the hole O.D. and the edge for strength.
- Use the same process and measurements on both sides first.
- You may find that the factory holes are not quite in the same place on both brackets.
- You may also find that your exact (matched) measurements would end with the new hole being closer to the edge than the other bracket. So, you'll have to improvise a little.
- If the new holes aren't perfectly drilled to match on both sides, it'll still work.
- It will probably be barely noticeable if at all.
 |  |
- Use a punch to set the center of the hole for the bit.
- Pre-drill the hole with a smaller bits in steps up to the final drill size.
- This will help keep from burning the bits up while drilling thru the stainless steel bracket.
- Heat will build quickly so use plenty of cutting oil to keep the bits cooler.
- If it starts smoking, stop and go back to a smaller bit and then step back up to the final one.
 |  |  |