Table of Contents
IH: Engine Mechanicals - Sub-04A
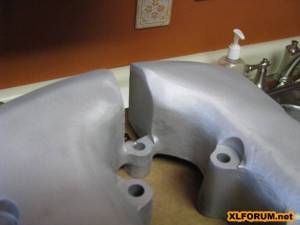
Splitting Rocker Boxes
When you cut the boxes there will be an oil passage that will need to be plugged (between the now two sides). 1)
You will have to drill and tap another entrance port for the oil line (between them).
Removing the boxes and head together is far less frustrating. 2)
Otherwise you've just invented a new 'chinese puzzle'.
The usual fix is to take the whole rear head off, bolt the rocker box on it, then slide the head and rocker box into place as one unit. 3)
Pros and Cons of Functionality
There are arguments on either side in respect to the functionality of splitting the rocker boxes.
Pros:
There really is nothing to be gained by splitting the Rocker Boxes, it's purely Cosmetic. 4)
It's just a matter of personal preference. But then again so is half the stuff folks do to their bikes.
There is nothing different in splitting the rocker boxes than;
Trimming the cam cover, drilling holes in the chain/belt guard, welding a hardtail section on a swing arm frame,
Running the wires internally in the bars, a slick paint job, flat blacking everything, chroming everything,
Installing 16“+ apes on HD's Sport Bike, adding a 250mm rear tire or side mounting a license plate.
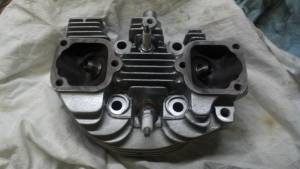
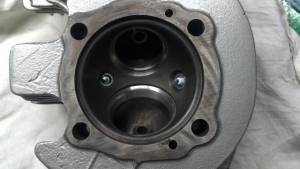
Some split the rocker boxes for adding dual plugged heads. The right side sparkplug is on the same angle as the left. 5)
On some other dual plug bikes, the right side plug was installed more towards the top of the head and the boxes didn't require splitting.
Cometic metal rocker gaskets seem to help with leaks.
If the rocker covers are doing a “hula dance” when in one full piece; 6)
Once they are split, each half is no longer reacting to the flex caused by the opposing side and is therefore more stable.
A lot of guys have proven that the middle bolt contributes very little (if anything) to the stock configuration. 7)
That would make the process of doing the plumbing between the two halves a little easier.
Cons:
Turn your rocker box upside down and look at how it attaches to the head in comparison to the contact points of the rocker arm.
You can see how far the pushrod end of the rocker would be from a supporting bolt if you split the box and lose that outer bolt.
Now consider that the rocker ratio is 1.42:1 and your pushrod is on the short end of that lever.
That means the valve spring pressure is multiplied by 1.42 on that end of the rocker arm.
And all of it's support is coming from that aluminum casting.
So, at a typical seat pressure of 125 lbs., the pushrod sees 177 lbs. and if the spring pressure at full lift is a typical 300lbs.
That's 426 lbs. at the pushrod end of the rocker.
This is all happening in less than the blink of an eye.
In fact 29 times per second at a cruise speed of 3500 RPM.
Add in some really long pushrods that are compressing and recoiling with each cycle and we have some real monkey motion going on.
If you don't think your pushrods can be compressing, place one end of an iron bar on the floor and strike the other end with a hammer.
The iron bar jumps off the floor back at you from the energy wave traveling down the bar , reversing , and coming back up.
Your pushrods are doing the same thing 29 times a second at 3500 rpm.
The last thing we want is to make things less rigid.
The pushrods have enough trouble with harmonics without adding another place for the valve train to flex. 8)
I've seen flex as high as .025” just rolling an engine with big valve springs over on the bench.
If we lose up to .025“ or more due to box flex, that is that much less that the valve is opening. 9)
So much for your hi lift cam.
Even on dead stock valve train the naked eye can actually see the pushrod end of split boxes flex when pushing the kicker thru. 10)
They flex at zero rpm. Imagine what happens when you toss some serious valve train accel's in the mix.
Nobody likes leaking rocker box gaskets but people are always dealing with box gaskets going in the crapper.
When they fail they migrate out from under the gasket surface of box.
80% of those are one thing, gasket goop.
Gooped gaskets just don't hold up as well as naked ones.
Goop makes them squeeze out from under the box somehow.
When naked gaskets let loose, they tend to split down the center of the paper then walk out both ways.
(to the outside and to the spring chamber)
In most of these cases you find the center bolt is dead loose and the gasket washer it's supposed to be pinching is nowhere to be found.
The flexing box has ripped the gasket fibers apart. Using no gaskets eliminates all that nonsense but you will have seepage.
Want no seepage and long gasket life?
Don't use goop on the gaskets but rather or use anti-seize and leave that center bolt gasket out.
(or optionally replace it with a hard shim)
Box flex is real and it doesn't have to be.
You can put your hand on boxes that have been split and you will feel them moving around. 11)
The only gaskets that help are the metal ones from Cometic. All the rest of the paper ones actually just get squeezed out.
Strong valve springs add to the moving around.
When using dual plug heads; 12)
Logically the 2nd plug should be positioned as a mirror image of the original plug.
When you do that, you cut directly into the center box-bolt boss on head rendering it useless.
Some builders wont consider no bolt integrity as viable.
So they move the plug farther down as a better option.
To keep the strength of the center bolt design, you can weld up the oiling cross hole and run external lines from the outside. 13)
That is better than splitting the boxes.
To dual plug the heads, the plug electrode location is what is critical, not the angle the plug screws in from. 14)
You can use a small spark plug 12mm or even 10mm. A big plug doesn't make any bigger spark.
 15) \\
 16)
16)
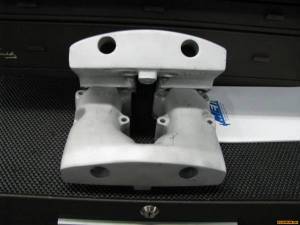
General Process Of Splitting the Rocker Box
These are Shovelhead rocker boxes but the process is about the same. 17)
The center portion where the front bolt goes was left on below to help give support once the pushrods are adjusted.
(in an attempt to help eliminate the chance of a leak).
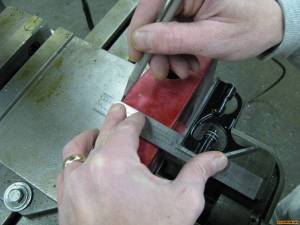
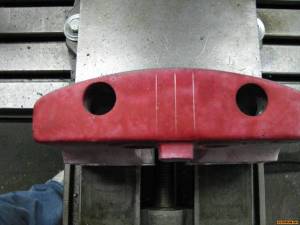
First start off with a good set of boxes. Spray a little layout die on them and lay them out for a reference line. 18)
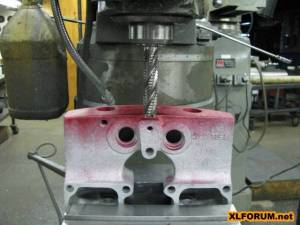
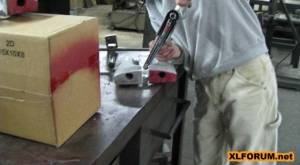
Set each box in a vice and mill down the center. Then weld up the oil passages where the split was made.
And clean up the areas modified to smooth things out. 19)
Lastly, you'll need to relocate the oil passages, and decide whether or not to polish or powder coat them. 20)
Cut Down
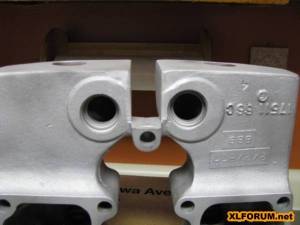
Cutting the middle down achieves 'the look' while keeping the rigidity and good gasket sealing.
The trickiest part is making a shortened tap and keeping it dead on true to both holes so nothing binds on assembly of the crossover oil line.
Getting plumbing in between those two holes is difficult. 21)
The shortened tap is necessary due to the tight space between the two holes.
It helps for both surfaces to tap to have flat faces.
Getting a tap started on an angle doesn't help you align a straight hole when tapping.
Equally important, the two holes have to be in perfect alignment with each other.
Going one way, you can put a guide pin in but coming back the other way, you have to rely on a sharp eye and a very steady hand.
The plumbing goes together like a Chinese puzzle.
Screw the assembled fittings in loose then slide the inner connecting tube in, making sure not to gouge one or both of the O-rings.
Once the tube is in place screw the fittings into the boxes tight, then screw the ferrule nuts down tight.
Removal / installation after this mod:
Don't mix up which box section goes where.
Keep in mind the very small hole on the underside of the rocker arm.
It's there to provide a little extra oil to the exhaust valve stem for cooling.
The rockers can be swapped rear cyl exhaust for front cyl intake and vice versa so take care when assembling.
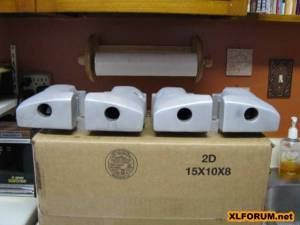
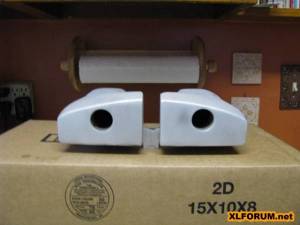
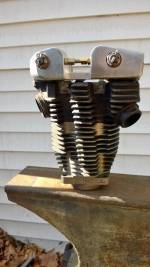
Fully Split
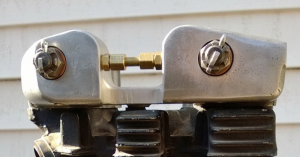
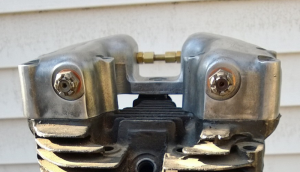
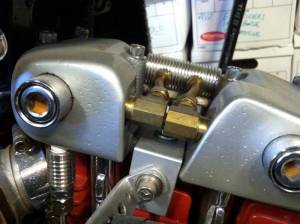
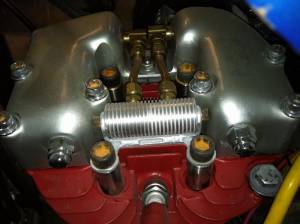
| A piece of angle iron holds down the center bolt section and also serves as a place to the mount air cleaner/carburetor stabilizer brackets. 24) Machined little oil coolers help add some extra cooling for the exhaust area. |
||
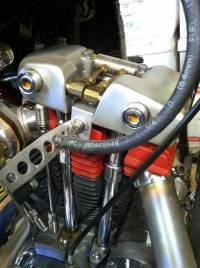 |  |  |
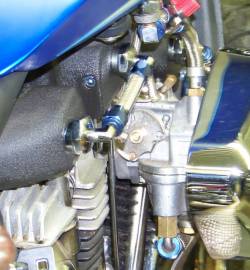
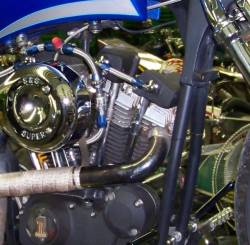
| In shop hand made lines. 25) | ||
 |  |  |

